

A payroll from start to finish
This page walks through one complete payroll for a new client. Each step links to a page with the details. The first payroll for a client takes longer because you set the client up; after that you start at step 5.
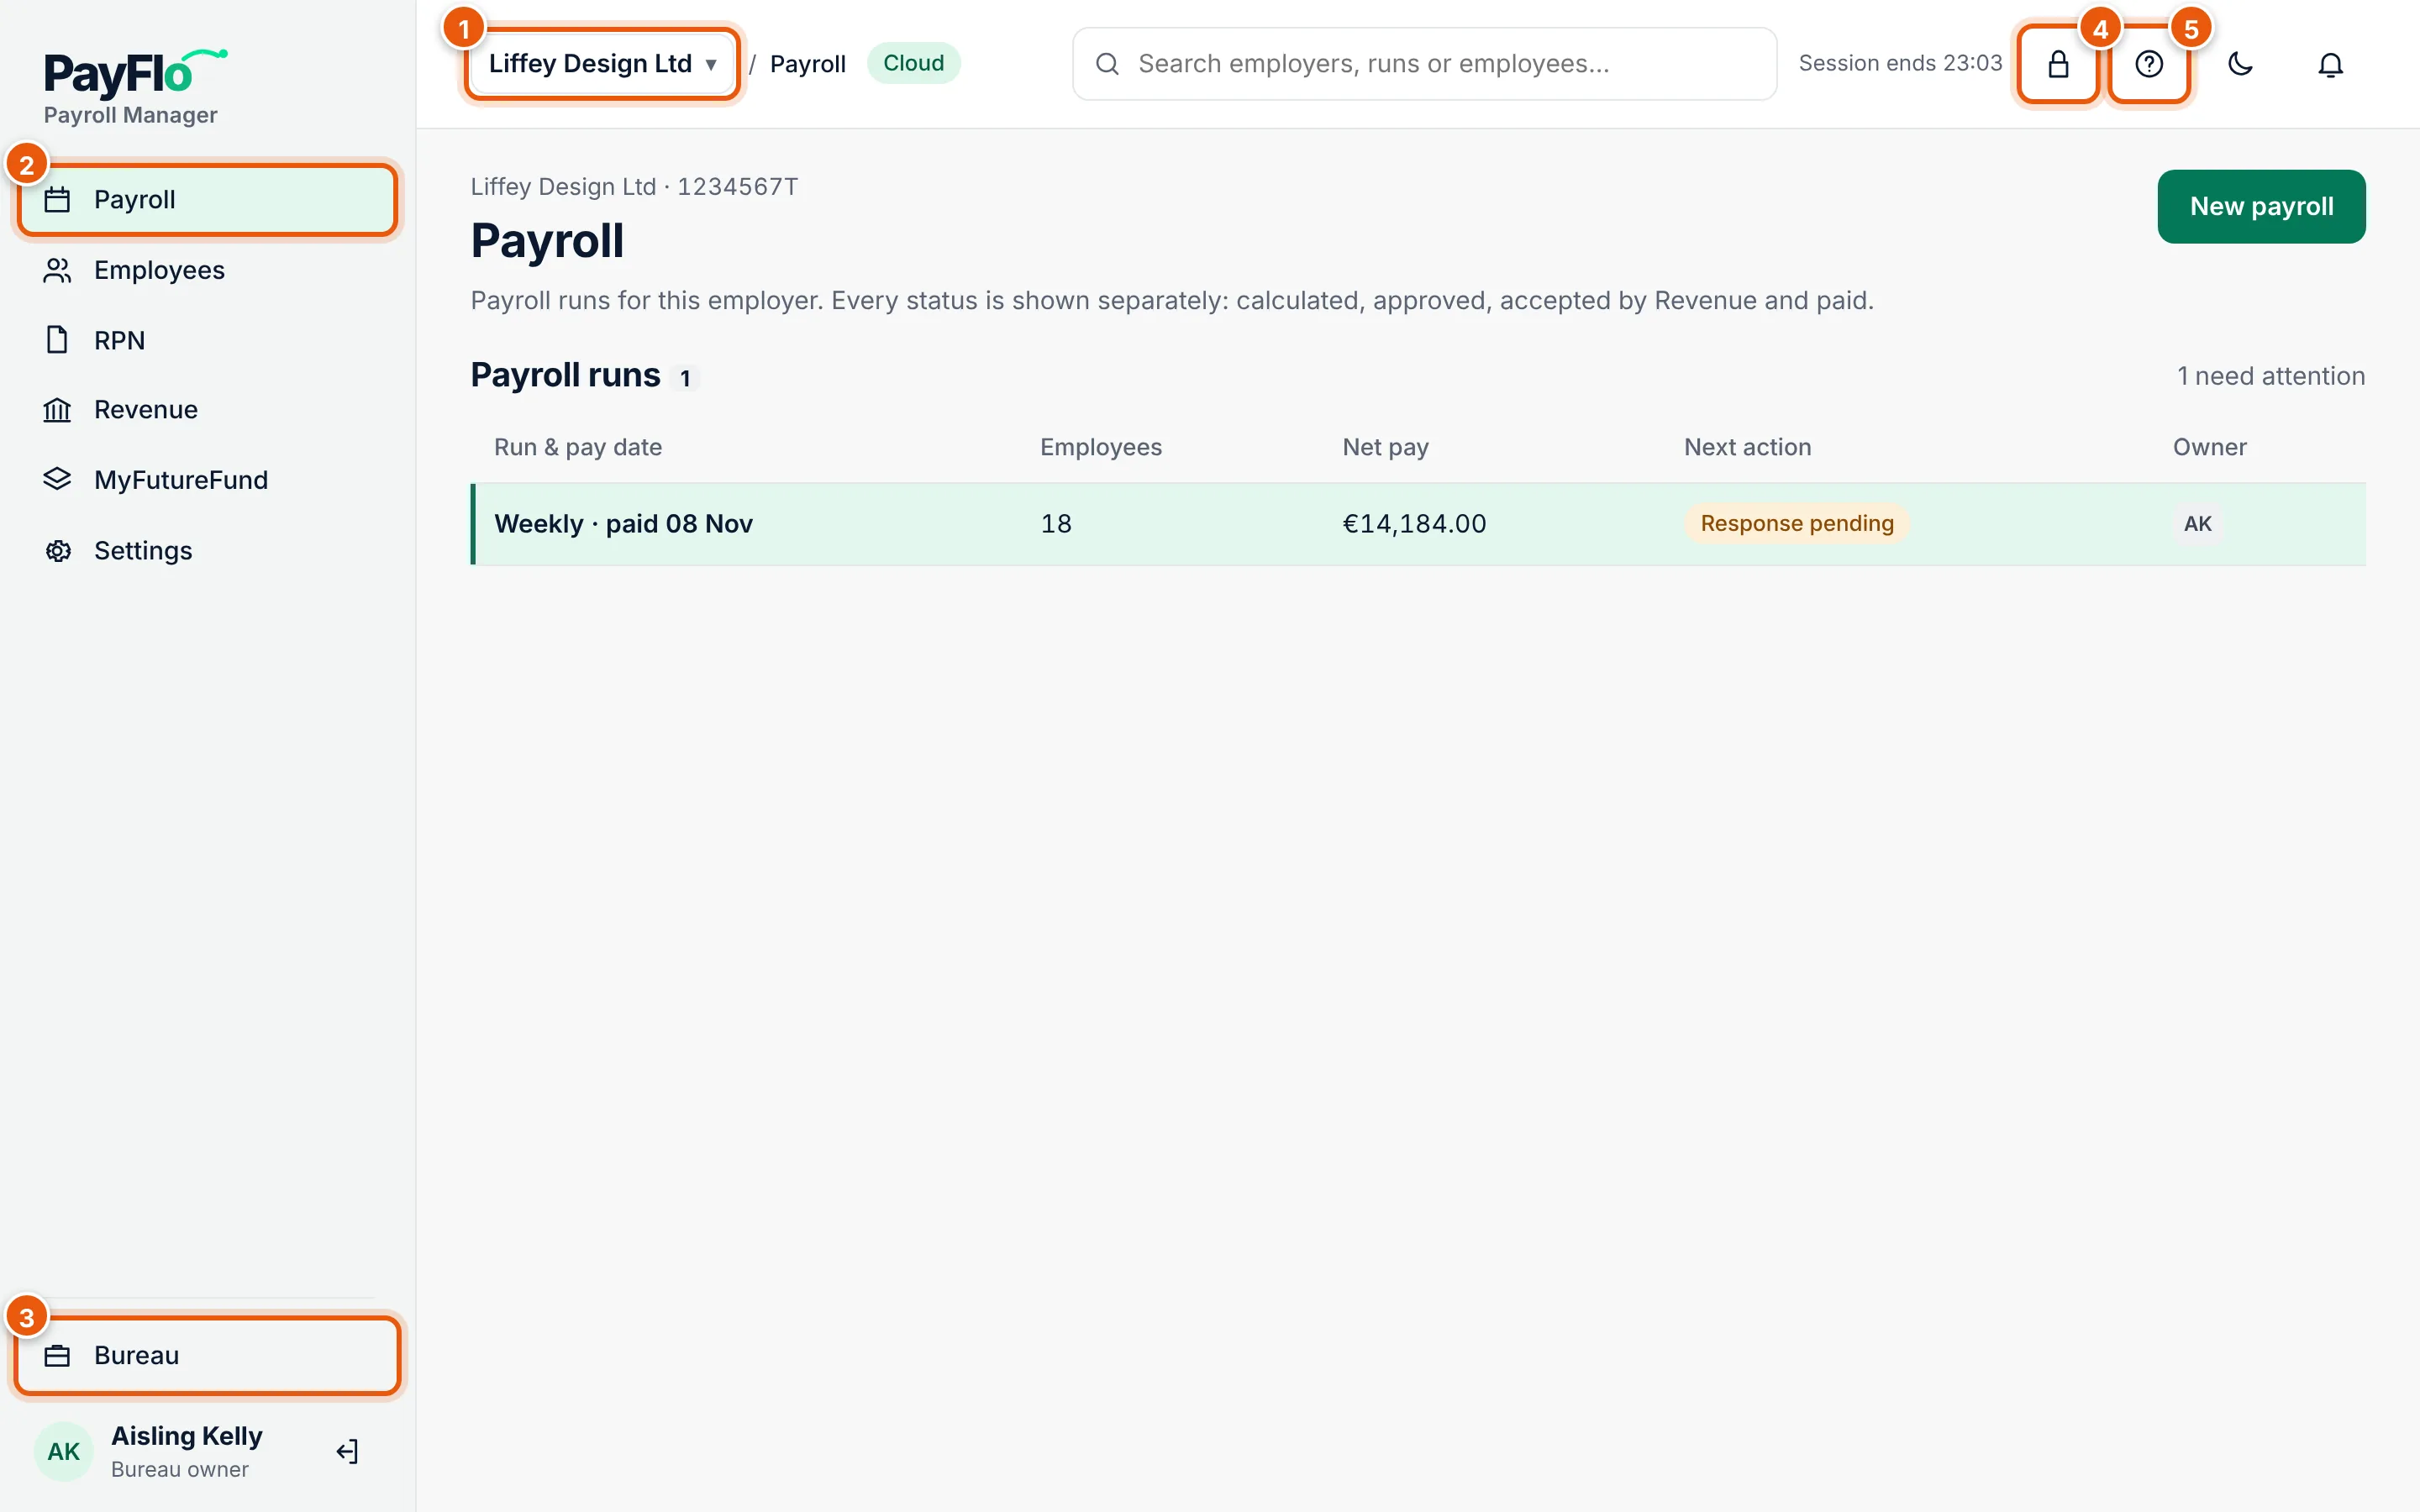
Once per client
- Add the client. Choose Bureau at the bottom of the menu, then All employers and Add employer. Enter the company, the address and the contacts, and answer whether the client approves each payroll. See Add a client.
- Add the bank account for wages. In the client's Settings, choose Edit and enter the IBAN the wages are paid from. The bank file needs it. See Client settings.
- Bring in the employees. Choose RPN in the menu and then Get RPNs from Revenue, or upload the RPN file from ROS. Tick the people who work for the client and choose Add selected. Then fill in each person's IBAN and pay. If the client comes from other payroll software, you can also import a CSV file. See RPNs from Revenue.
- Optional: invite the client to the Employer app, so they can send hours and photos of paper timesheets from a phone. See Set up the Employer app.
Every pay period
- Get fresh RPNs. Tax credits and rate bands change during the year. Get RPNs before each payroll so the calculation uses the latest ones. See RPNs from Revenue.
- Start the payroll. On the client's Payroll page choose New payroll, check the pay frequency, the first day of the period and the pay date, and choose Create draft payroll. See Run a payroll.
- Collect hours and changes. Add overtime, bonuses and absences under Period inputs, scan a paper timesheet, import a spreadsheet of hours, or wait for the hours the client sends from the Employer app. See Hours and timesheets.
- Calculate. Choose Calculate. Check the payslip lines and the people the payroll marks as incomplete. Recalculate after every change.
- Check and approve. The bureau chooses Mark as checked, then the payroll is approved (by the client if they approve pay runs). Approving needs your password or passkey. See Review and approval.
- Pay and report. Download the payslips, create the bank file for the wages and prepare the payroll submission (PSR) for Revenue. If the client has MyFutureFund members, prepare the contributions file too. See Payslips and journal, Bank file, Revenue and MyFutureFund.
Statuses you will see
Each payroll run shows every step with its own status, because "calculated", "approved", "accepted by Revenue" and "paid" are different things. A green Revenue status does not mean the wages were paid.
| Status | What it means |
|---|---|
| Data | Whether the hours and changes for the period are in: Missing, Draft, Submitted, Query open, Ready for review |
| Calculation | Not calculated, Calculated, or Recalculation required after a change |
| Review | The bureau's own check: Pending, Clarification needed, Checked |
| Approval | Pending, Approved, Changes requested, Required again (the numbers changed after approval) |
| Revenue | The payroll submission: Not sent, Sending, Response unknown, Accepted, Rejected, Partially accepted |
| MyFutureFund | Contributions file: Not applicable, Not sent, Accepted, Rejected |
| Payslips | Draft, Ready to publish, Published |
| Bank file | Not ready, File ready, Transferred |
| Wages payment | Unconfirmed until someone confirms the wages left the bank |
Related
- Find your way around
- Glossary: RPN, PSR, AEPN, PRSI and other terms